Printer Friendly Procedure Steps: Download PDF
Logging In to VA Hydro:
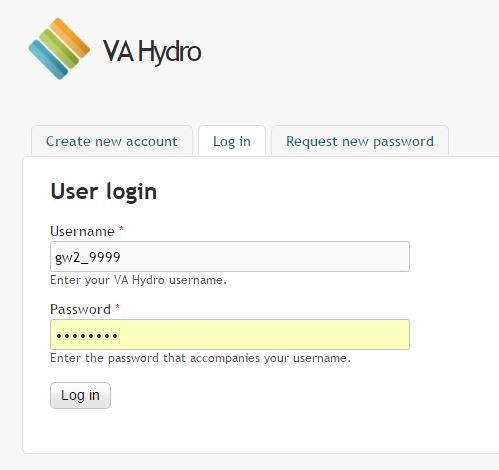
- Open web browser and navigate to: http://deq2.bse.vt.edu/d.dh/.
- Enter Username and Password at the User Login screen and click “Log in”.
- Once logged in, you will confirm your account by clicking on the Certified Water Well System Provider link.
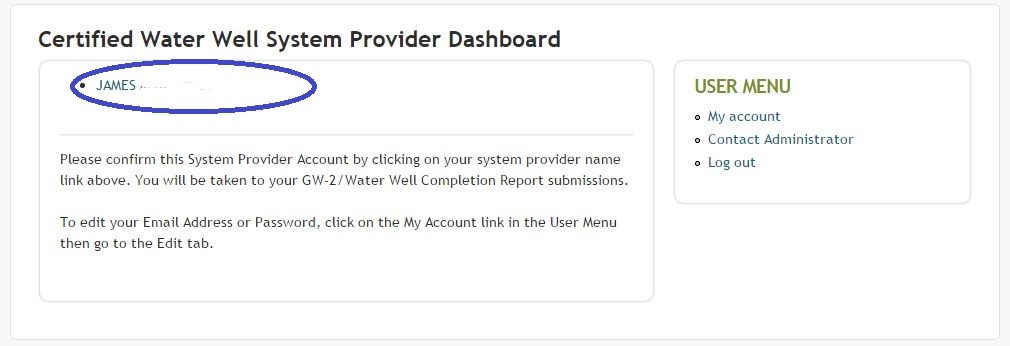
- After clicking that link, you will be directed to the main VA Hydro GW-2 Dashboard.

Requesting a New Password
- If you have forgotten your password, click the “Request New Password” tab at the User Login screen.
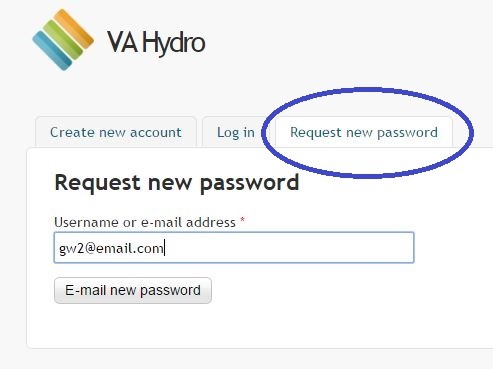
- Enter Username or valid Email Address at the Request New Password screen.**
**Please note that you must have updated the email address associated with your VA Hydro account prior to requesting a new password (See next step, “Editing Account Information”)
- Click “E-mail new password”.
- A link will be sent to your E-mail Address to reset your password.
Editing Account Information:
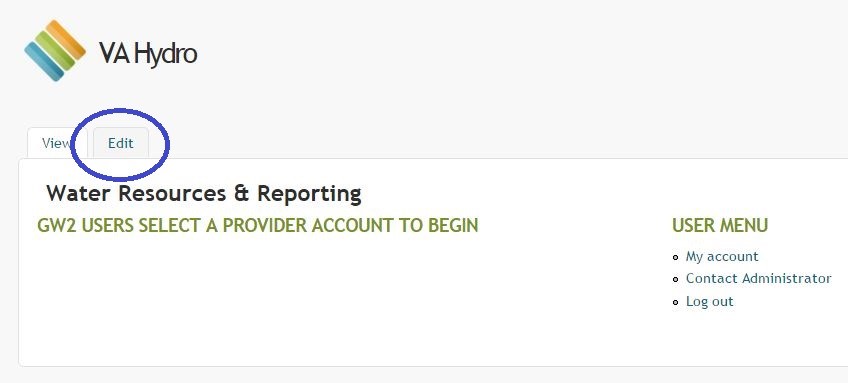
- Once logged in, click on the “My Account” link in the User Menu.

- Click on the “Edit” tab at the top of the page.
- To change the e-mail address, enter the correct e-mail address in the “E-mail address” field.**
** An e-mail address can only be used once in VA Hydro. If a company has multiple system providers with accounts, you will need to use unique e-mail addresses for each
- To change the account password, enter the password that was used to login in the “Current Password” field.
- Enter the password of choice in the “Password” and “Confirm Password” fields, which must abide by the password requirements.
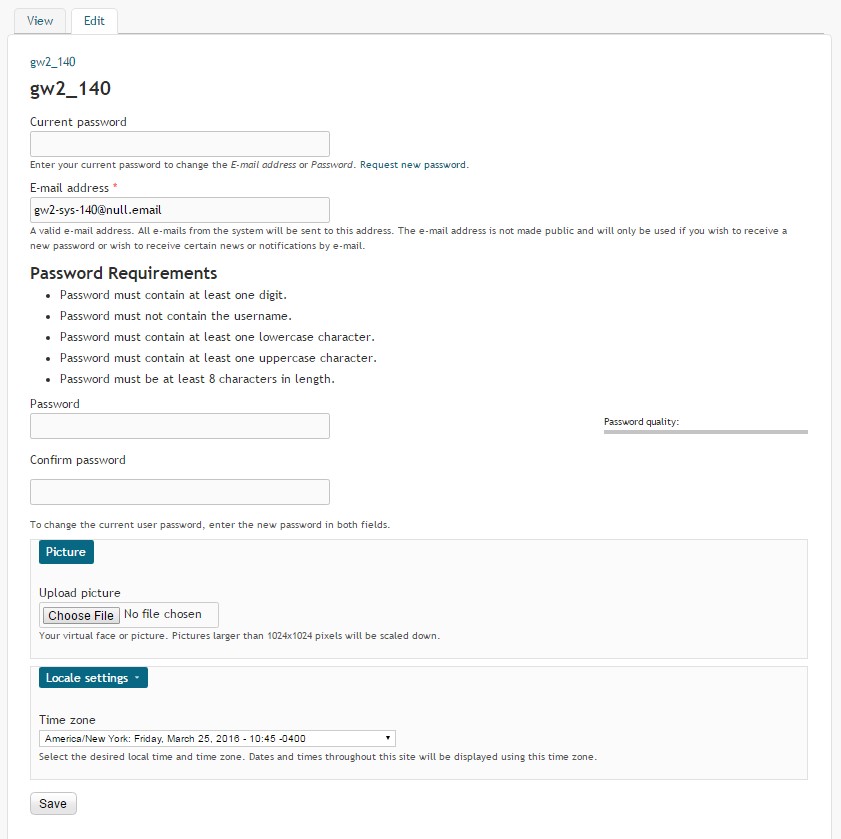
- Click the “Save” button to update the account information.
Submitting a new GW-2 Report
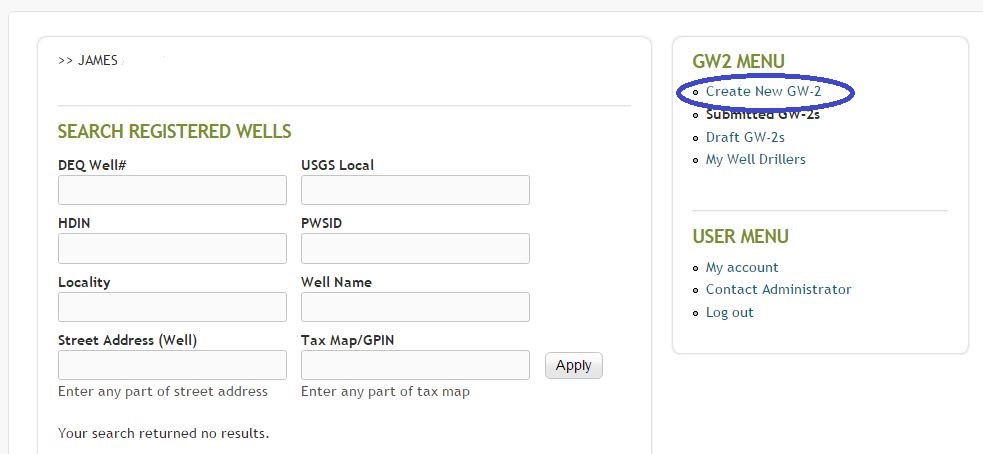
- From the main GW-2 Search Dashboard, click on the “Create New GW-2” link in the GW2 Menu.
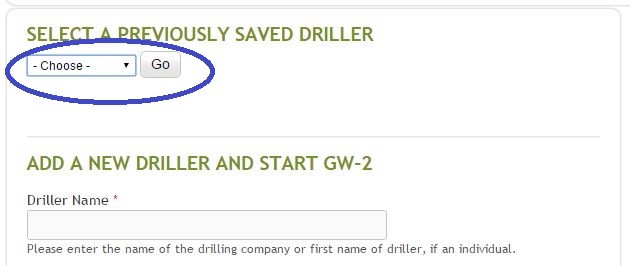
- If you have not submitted a GW-2 on VA Hydro before or need to add a new driller, fill out the “Add A New Driller and Start GW-2” form and click Submit.**
**Please enter the Drilling Company/Contractor, not the individual that drilled the well
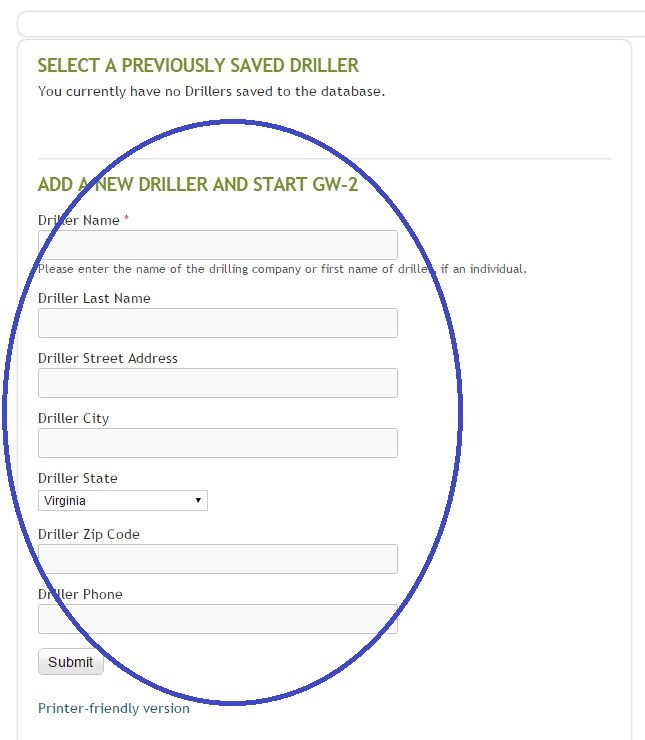
- If you have already added a Driller, select the previously saved Driller from the drop-down menu and click Go.
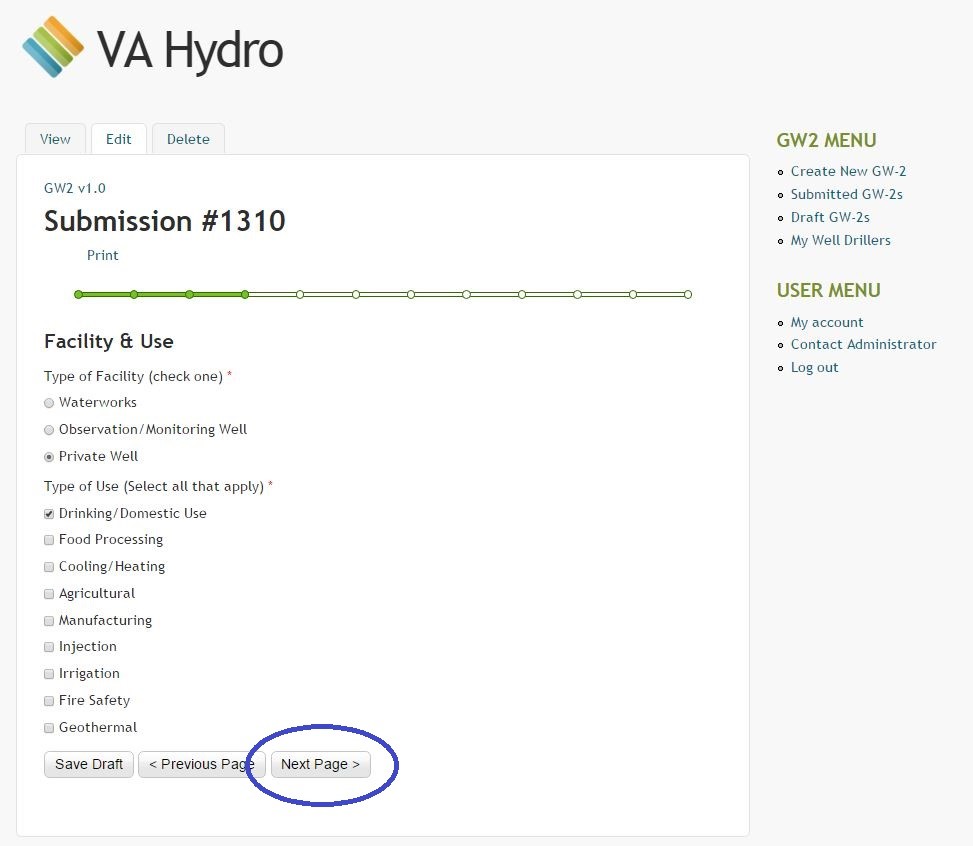
- After entering or selecting a driller, you will start the main GW-2 form. The online version is based on the sections from the paper form (i.e. Contact Information, Well Location, Construction Info, etc.). You will click the “Next Page” button at the bottom of each page to go to the next page of the form. The green bar at the top of the page tracks the progress through the form.

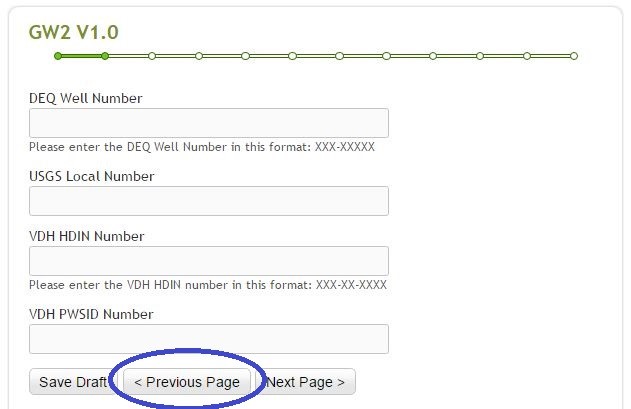
- To return to a previous page of the form, click the “Previous Page” button at the bottom of the page. Your previously entered information will be saved. Do not use the Back button on your web browser.
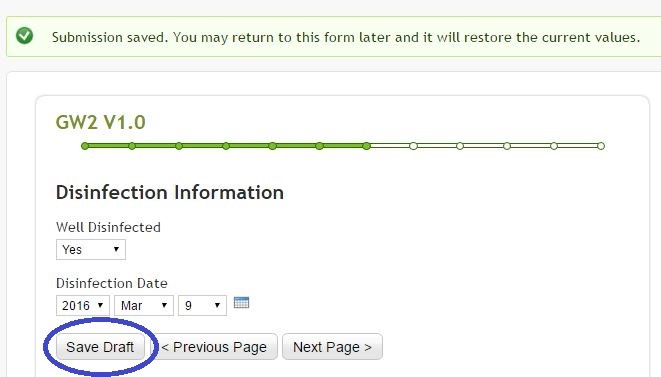
- To save a draft of your form, click the “Save Draft” button at the bottom of the page. This will save all of the information that you have entered on the form. You can exit the web browser and come back to finalize your GW-2 submission at any time. (See “Accessing Saved Drafts”)
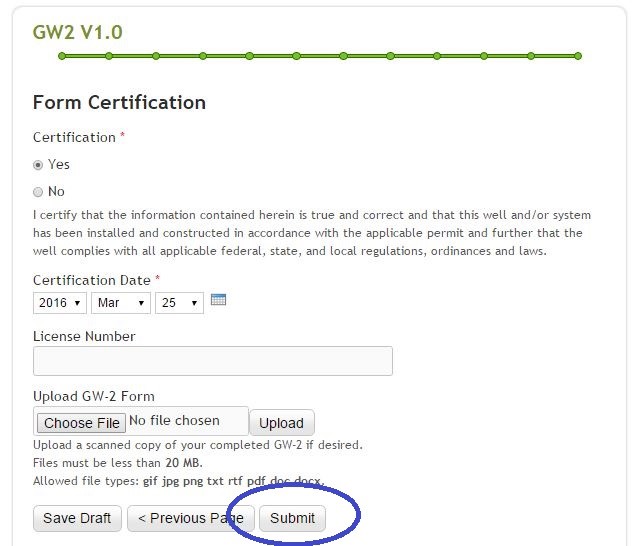
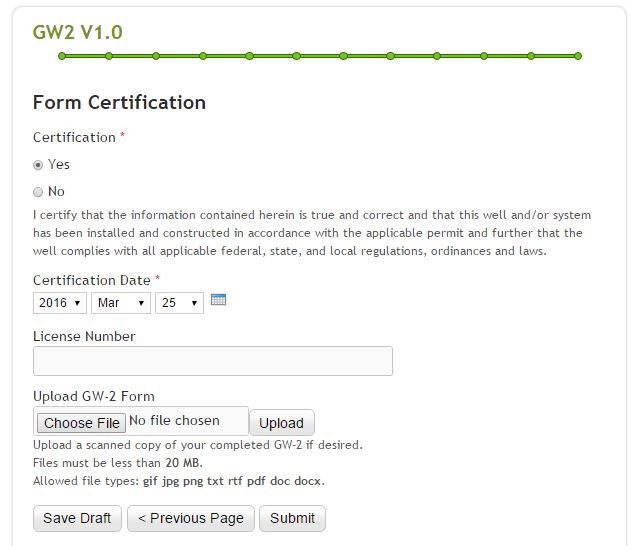
- Once you complete all relevant sections of the online form, click the “Submit” button at the Form Certification section.
Accessing Saved Drafts
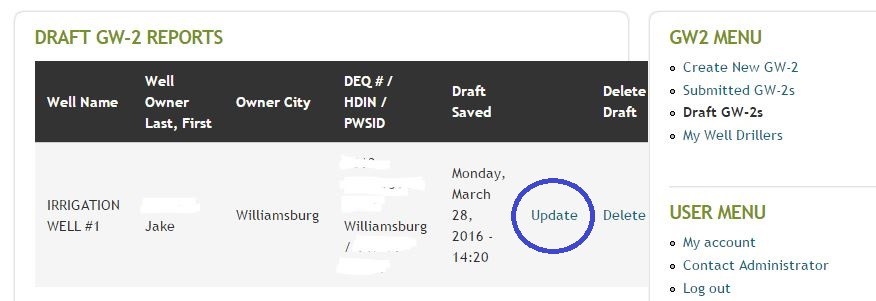
- From the main GW-2 Search Dashboard, click the “Draft GW-2s” link in the GW2 Menu.

- Navigate to the Draft that is to be continued and click the “Update” link. Click the “Delete” link to delete this draft from the database.
- The Draft will start with the first section of the GW-2. Navigate to the desired GW-2 section with the “Next Page” and “Previous Page” buttons.
- Continue entering GW-2 data and click the “Next Page” button to pass through each section.
- Once you complete all relevant sections of the online form, click the “Submit” button at the Form Certification section.
Print a Submitted GW-2 Form or Save as PDF
- Navigate to the main GW-2 Dashboard by clicking on the “Submitted GW-2s” link.
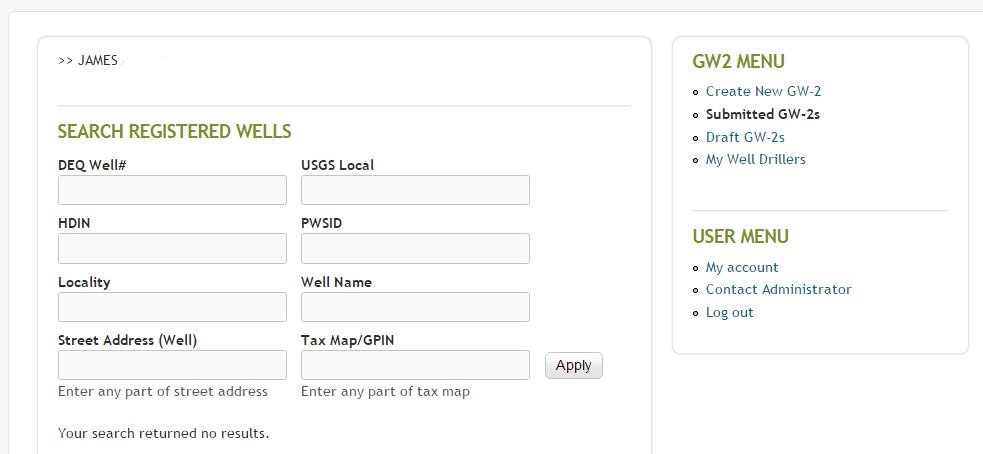
- If necessary, use the “Search Registered Wells” section to narrow down the well records.
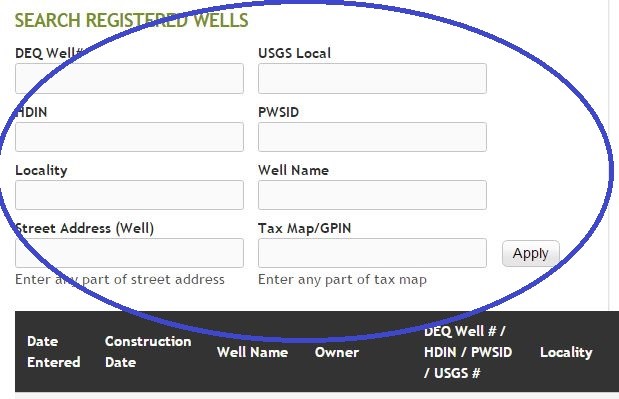
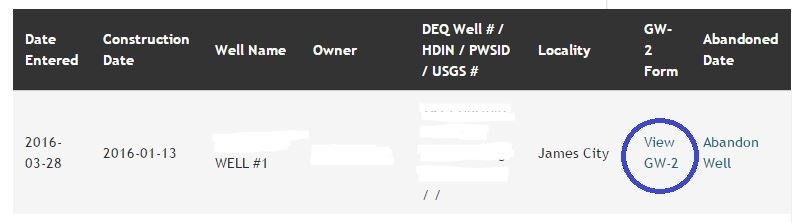
- After finding the desired well record, click the “View GW-2” link in the GW-2 table.
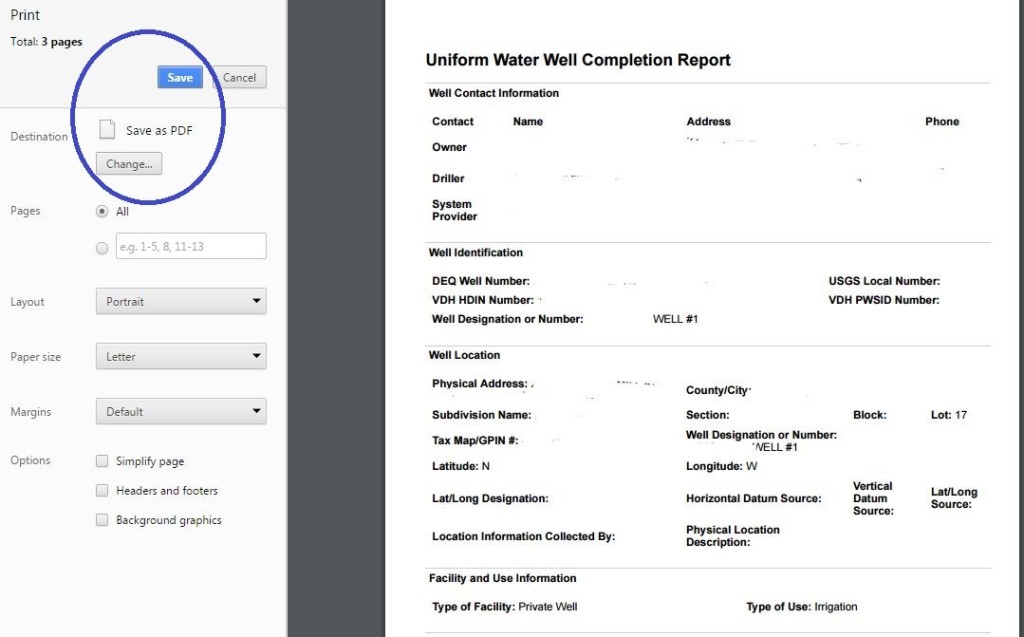
- Right-click on your web browser at the “Uniform Water Well Completion Report” page and click on the Print option.

- If you would like to print the document, select the correct printer and click “Print”.
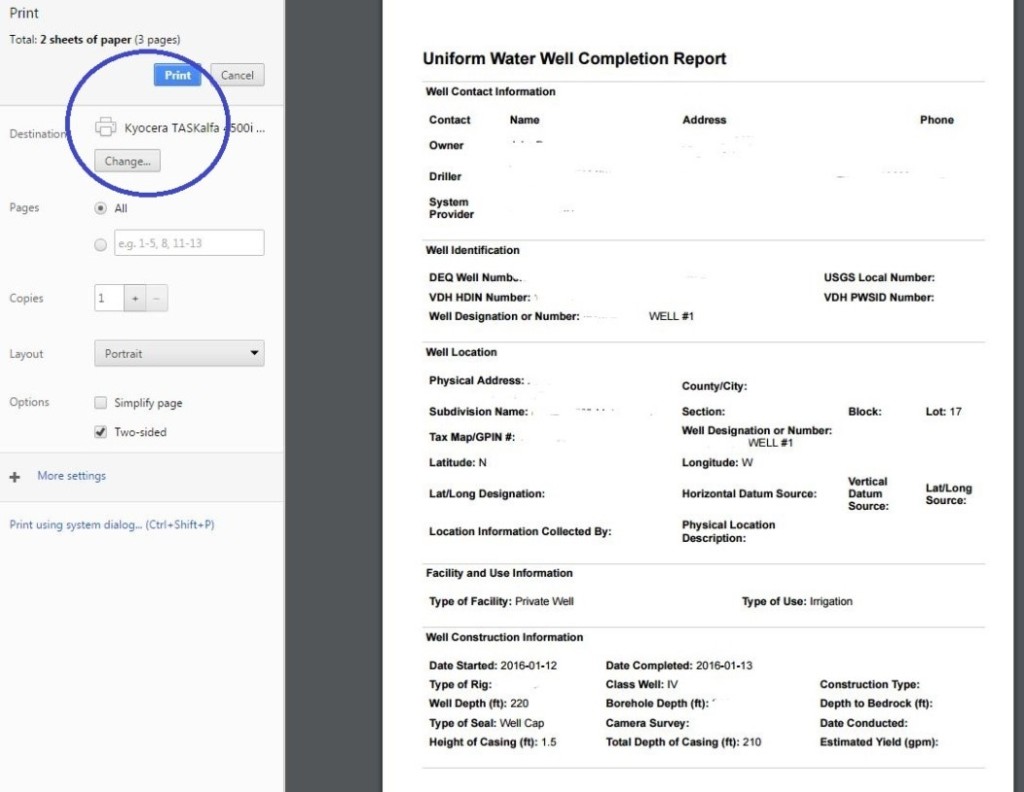
- If you would like to save the document as a PDF, click on the “Change” button under Destination and select “Save as PDF” from the available options.